A well-maintained rice cooker not only guarantees consistently delicious meals but also ensures the longevity of your appliance. Regular cleaning is essential to prevent the buildup of residue, odors, and even potential health risks.
In this guide, we’ll walk you through a step-by-step process to help you keep your rice cooker in tip-top shape.
Safety Precautions
Before you begin the cleaning process, always prioritize safety. First, unplug the rice cooker and let it cool down completely. This will prevent any accidental burns and ensure you can handle the appliance comfortably. Additionally, detach any removable parts with care to avoid damaging them.
Cleaning Supplies
Gather your cleaning supplies before you start:
- Mild dish soap
- Soft sponge or cloth
- White vinegar
- Baking soda
- Lemon
- A toothbrush or pipe cleaner
Remember, using gentle, non-abrasive materials is crucial to prevent scratching or damaging the surfaces of your rice cooker.
Basic Cleaning Steps
- Removing Leftover Rice: Start by disposing of any leftover rice in the cooker and the inner pot. Empty the rice into a compost bin or trash can.
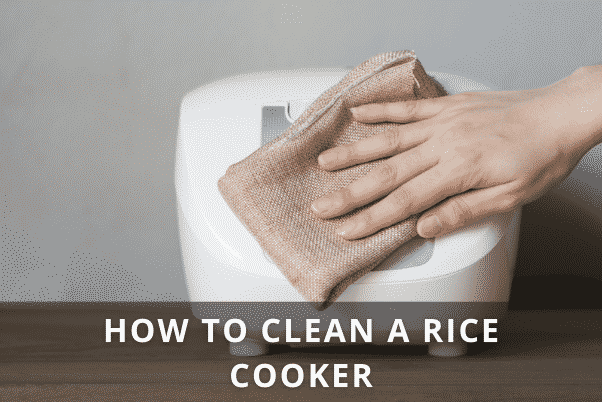
- Wiping Down Exterior Surfaces: Dampen a cloth or sponge with a mixture of water and a small amount of mild dish soap. Gently wipe down the exterior surfaces of the rice cooker to remove dust, stains, and any food splatters.
- Cleaning the Inner Pot: If there are stubborn stains on the inner pot, fill it with warm water and a teaspoon of mild dish soap. Let it soak for about 15 minutes. Then, use a soft sponge to gently scrub away the residue. Rinse thoroughly and dry.
- Cleaning the Steam Vent and Collector: Remove the steam vent cover and the condensation collector if your rice cooker has them. Rinse these detachable parts under warm water and use a toothbrush or pipe cleaner to clear any accumulated debris.
Dealing with Tough Stains and Residue
- Vinegar Solution: For mineral deposits, prepare a solution of equal parts water and white vinegar. Dip a cloth into the solution and wipe down the affected areas. Rinse thoroughly afterward to remove any vinegar residue.
- Baking Soda Paste: For stubborn food residue, make a paste using water and baking soda. Apply the paste to the stains, let it sit for a few minutes, and then gently scrub with a soft sponge. Rinse and dry.
- Lemon Juice: To naturally disinfect and freshen your rice cooker, rub the surfaces with a cut lemon. The citric acid in lemon juice helps break down stains and eliminates odors.
Cleaning the Exterior
- Carefully wipe down the control panel and buttons using a damp cloth. Be cautious not to let any moisture seep into the electronic components.
- Cleaning the Lid and Accessories
- Disassemble the lid components and wash them with mild dish soap and warm water. Don’t forget to clean additional accessories like measuring cups and spatulas.
Maintenance Tips
- Regular Cleaning Frequency: Aim to clean your rice cooker after each use. This prevents residue buildup and ensures optimal performance.
- Avoid Abrasive Materials: Stay away from abrasive cleaners or scrubbing pads, as they can scratch the surfaces.
- Periodic Descaling: Depending on your water’s hardness, consider descaling your rice cooker once a month using a vinegar solution to prevent mineral buildup.
- Proper Storage: Store your rice cooker in a dry, dust-free area when not in use. This prevents dust accumulation and maintains the appliance’s cleanliness.
Ensuring Odor-Free Cooking
To prevent lingering odors, place a small container of baking soda or activated charcoal inside the cooker when not in use. These natural odor absorbers will help keep your best rice cooker smelling fresh.
Long-Term Care and Upkeep
- Regularly inspect the power cords and plugs for any signs of damage. Replace them promptly if you notice any issues.
- If you encounter any technical problems or issues you can’t address yourself, consider seeking professional servicing.
Conclusion
A clean rice cooker isn’t just about aesthetics; it’s about ensuring your meals are safe, delicious, and prepared to perfection. By following this comprehensive cleaning guide and adopting regular maintenance practices, you’re investing in the longevity of your appliance and the quality of your culinary creations. Happy cooking!

